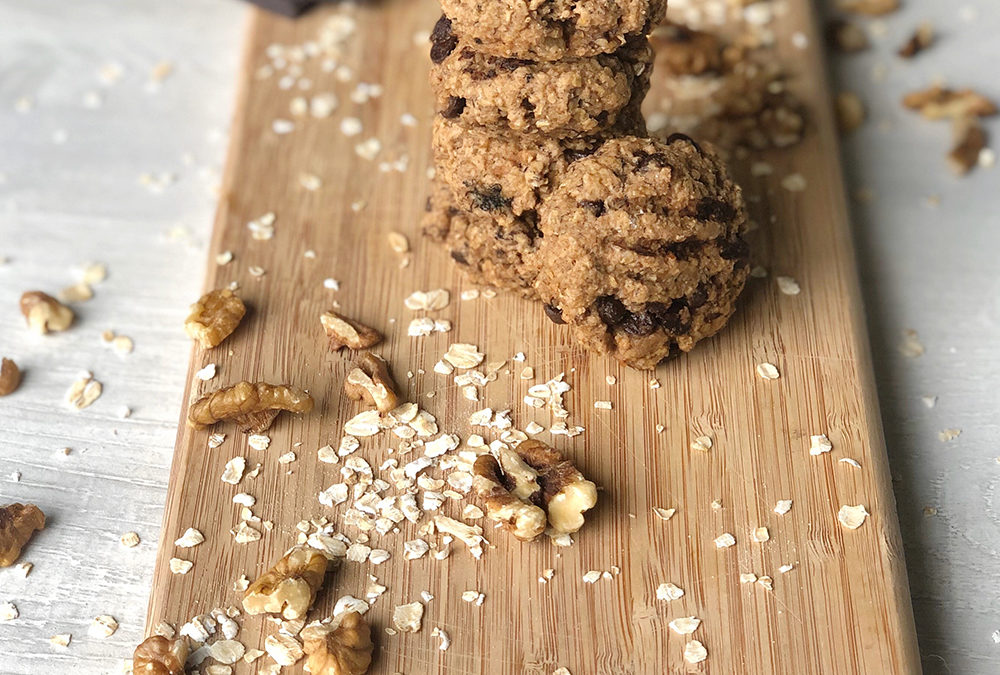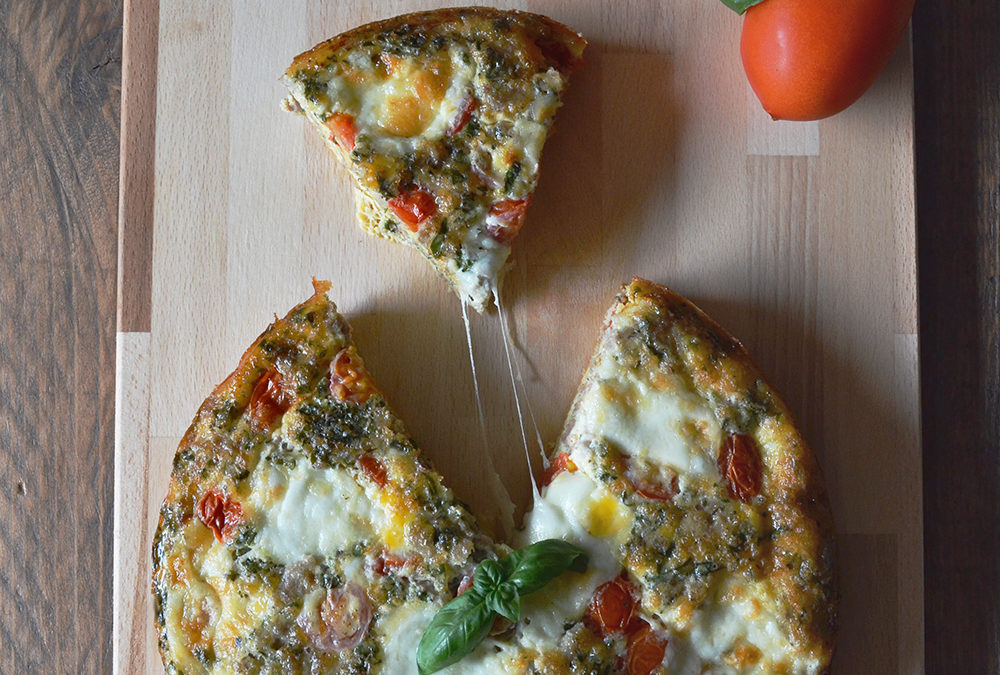
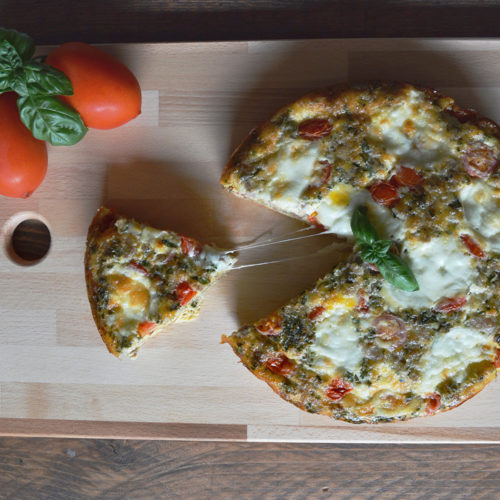
Sausage Pizza Frittata

Sausage Pizza Frittata
Are you familiar with the frittata?
It can also be considered a crustless quiche, and is such an easy and delicious item to make for any meal.
Even better, you can really put almost anything in there. We often make them to use up whatever leftovers are hanging out in our fridge.
This one in particular is a favourite – I call it my pizza frittata!
And did you know that mozzarella is a low-lactose cheese? This means it’s also low-FODMAP and tends to be easier to tolerate than other forms of dairy.
Sausage Pizza Frittata
Ingredients
- 8 eggs
- 300 g ground chicken or turkey
- 250 g tomatoes diced
- 125 g mozzarella
- 2 tbsp basil
- 1 tbsp oregano
- 1 tbsp parsley
- 2 tsp coconut oil
- salt & pepper to taste
Instructions
- Pre-heat oven to 180C / 360F.
- In a frying pan over medium heat, melt half of the coconut oil. Cook ground chicken until brown. Remove from heat and mix well with herbs and spices.
- Use the remaining coconut oil to grease a 28cm / 11" round baking dish.
- Spread out the chicken mixture evenly into the baking dish. Scatter the diced tomato and mozzarella.
- In a separate bowl, whisk together the eggs. Pour evenly into the frittata dish.
- Bake for 40 minutes in the oven until the egg is no longer liquid and the frittata is firm.
Notes
You can make this in muffin cups for easy grab and go servings! Makes about 8 muffins. Reduce cooking time to 25-30 minutes.

READY TO FINALLY ACHIEVE IBS BLOATING RELIEF?
Find out what to do when bloating rears its ugly head. Grab the free guide for 12 tips to help you find bloating relief and IBS success!