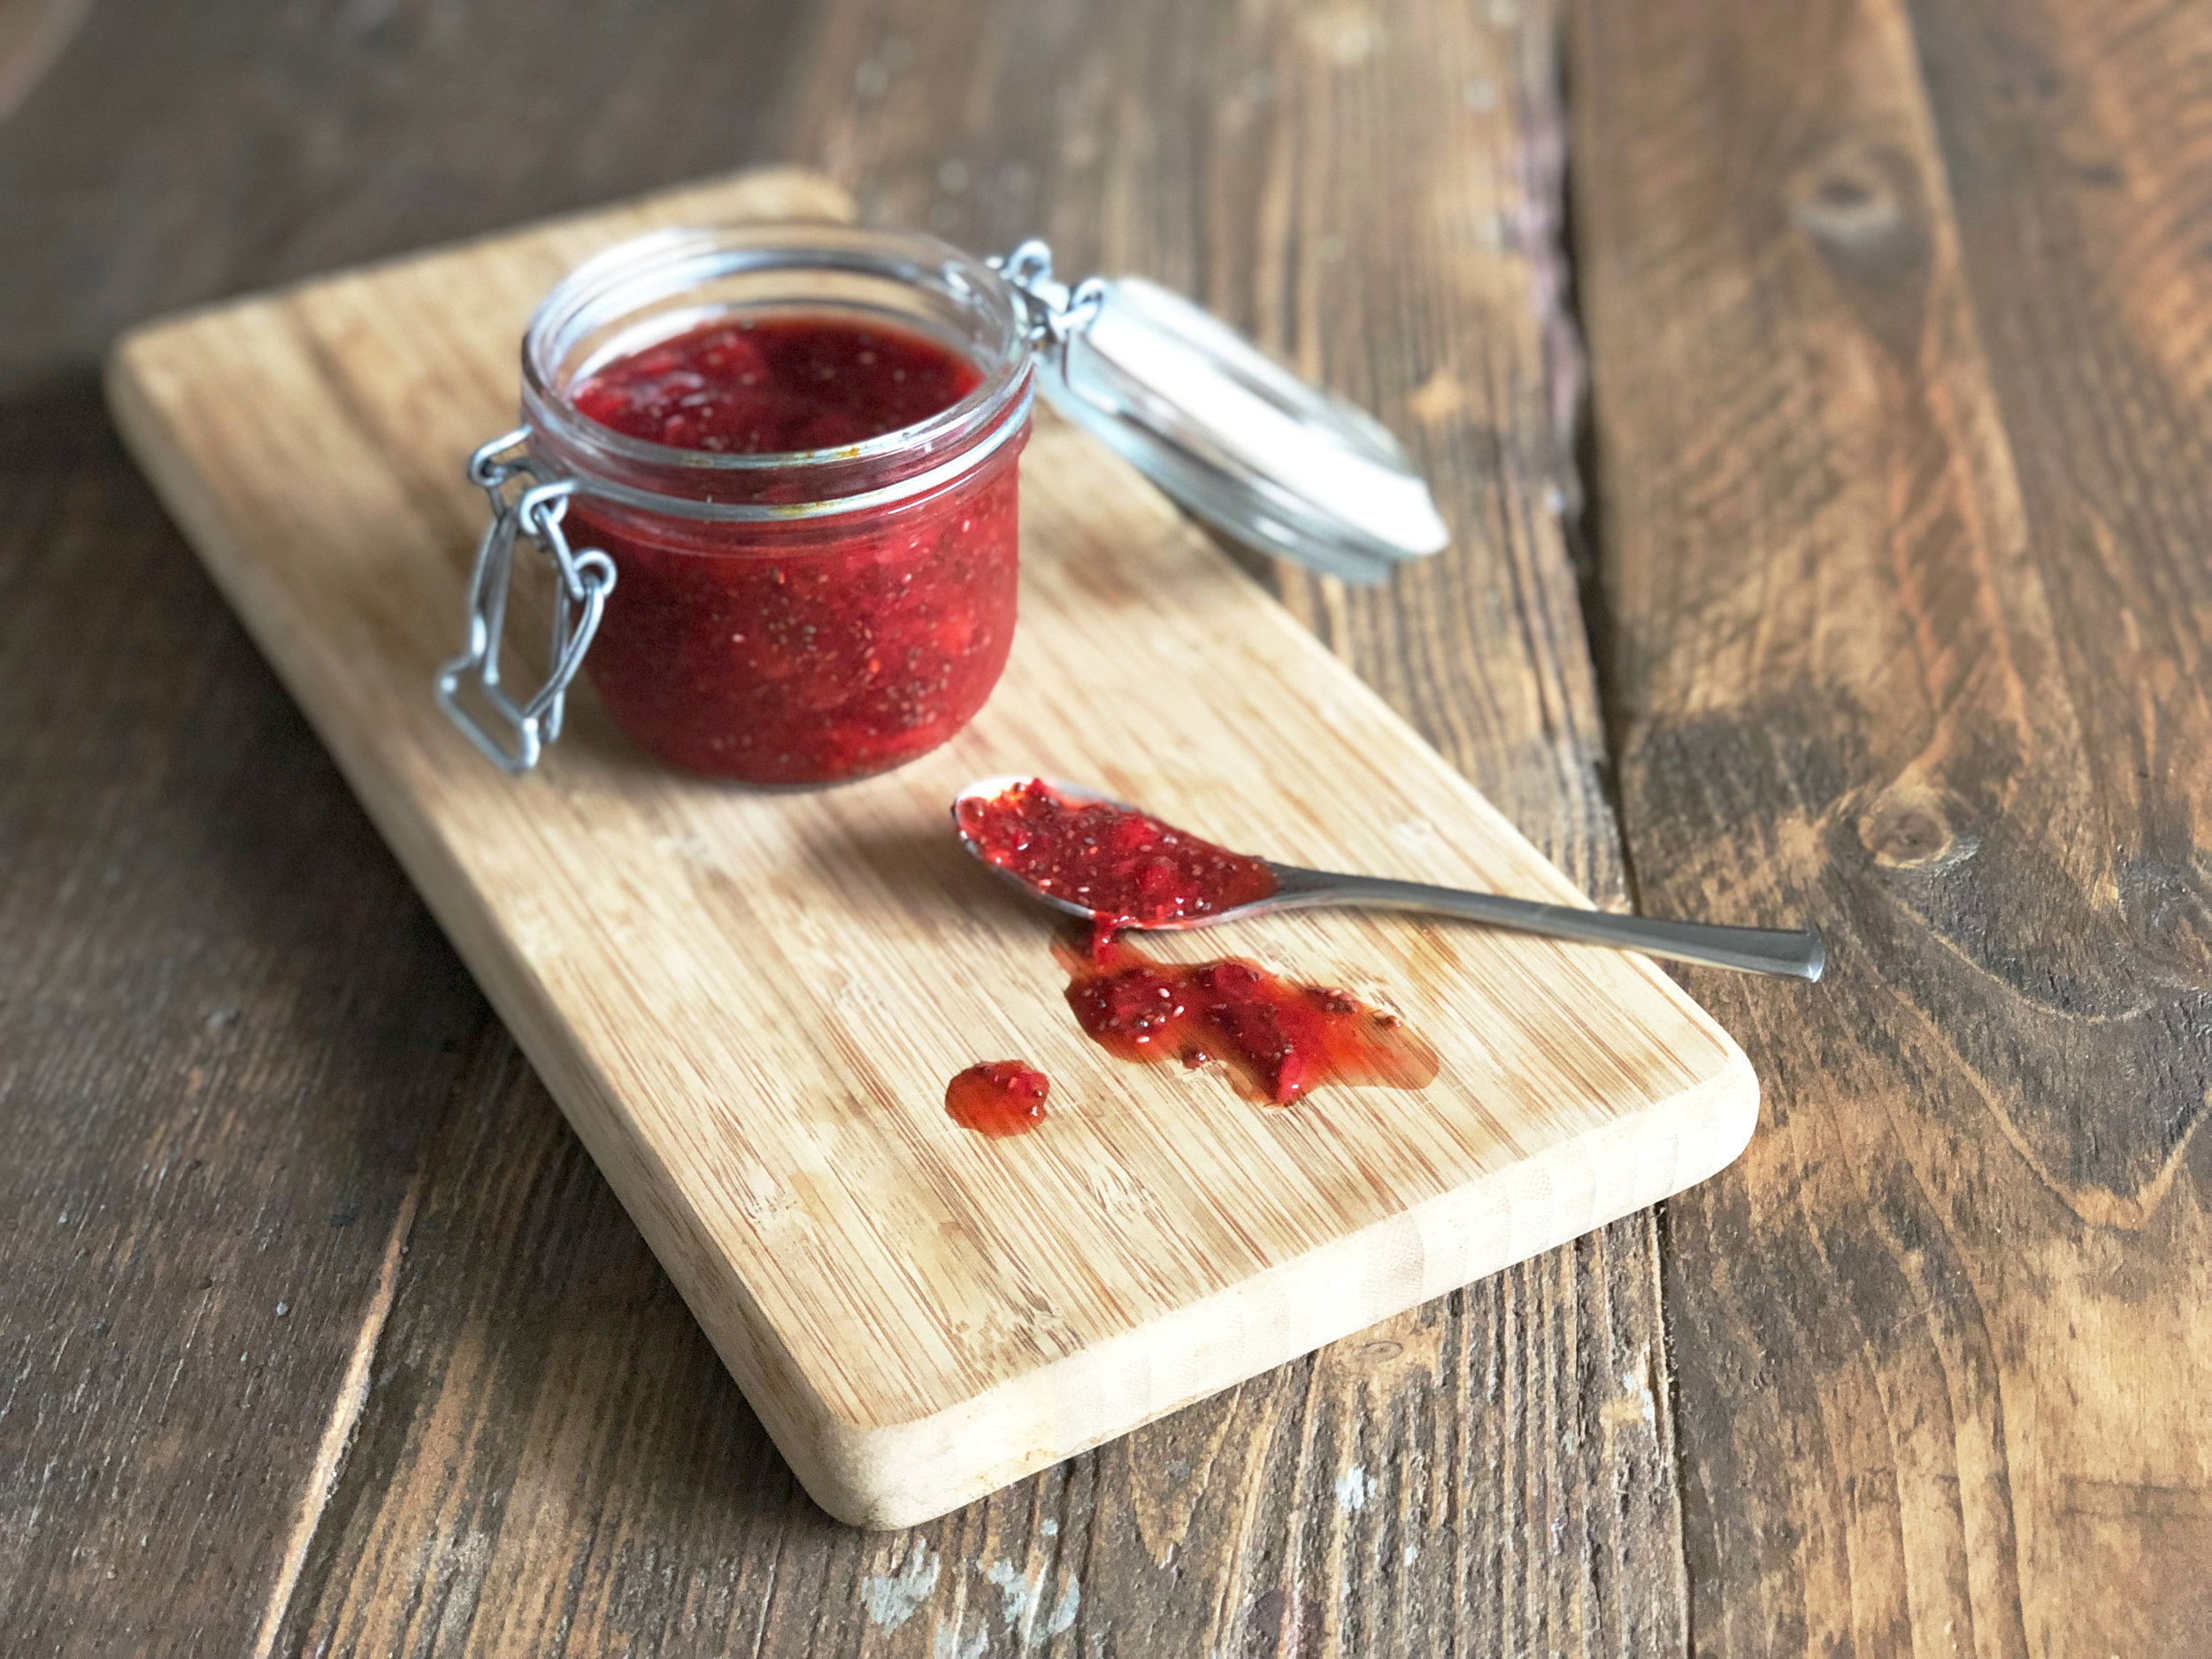
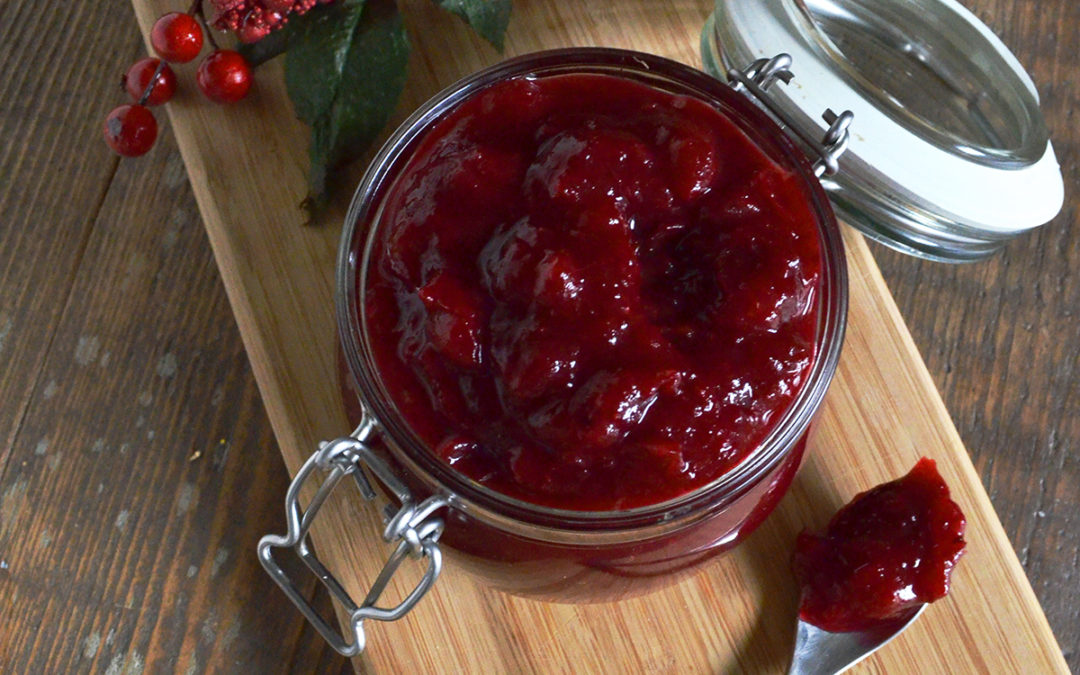
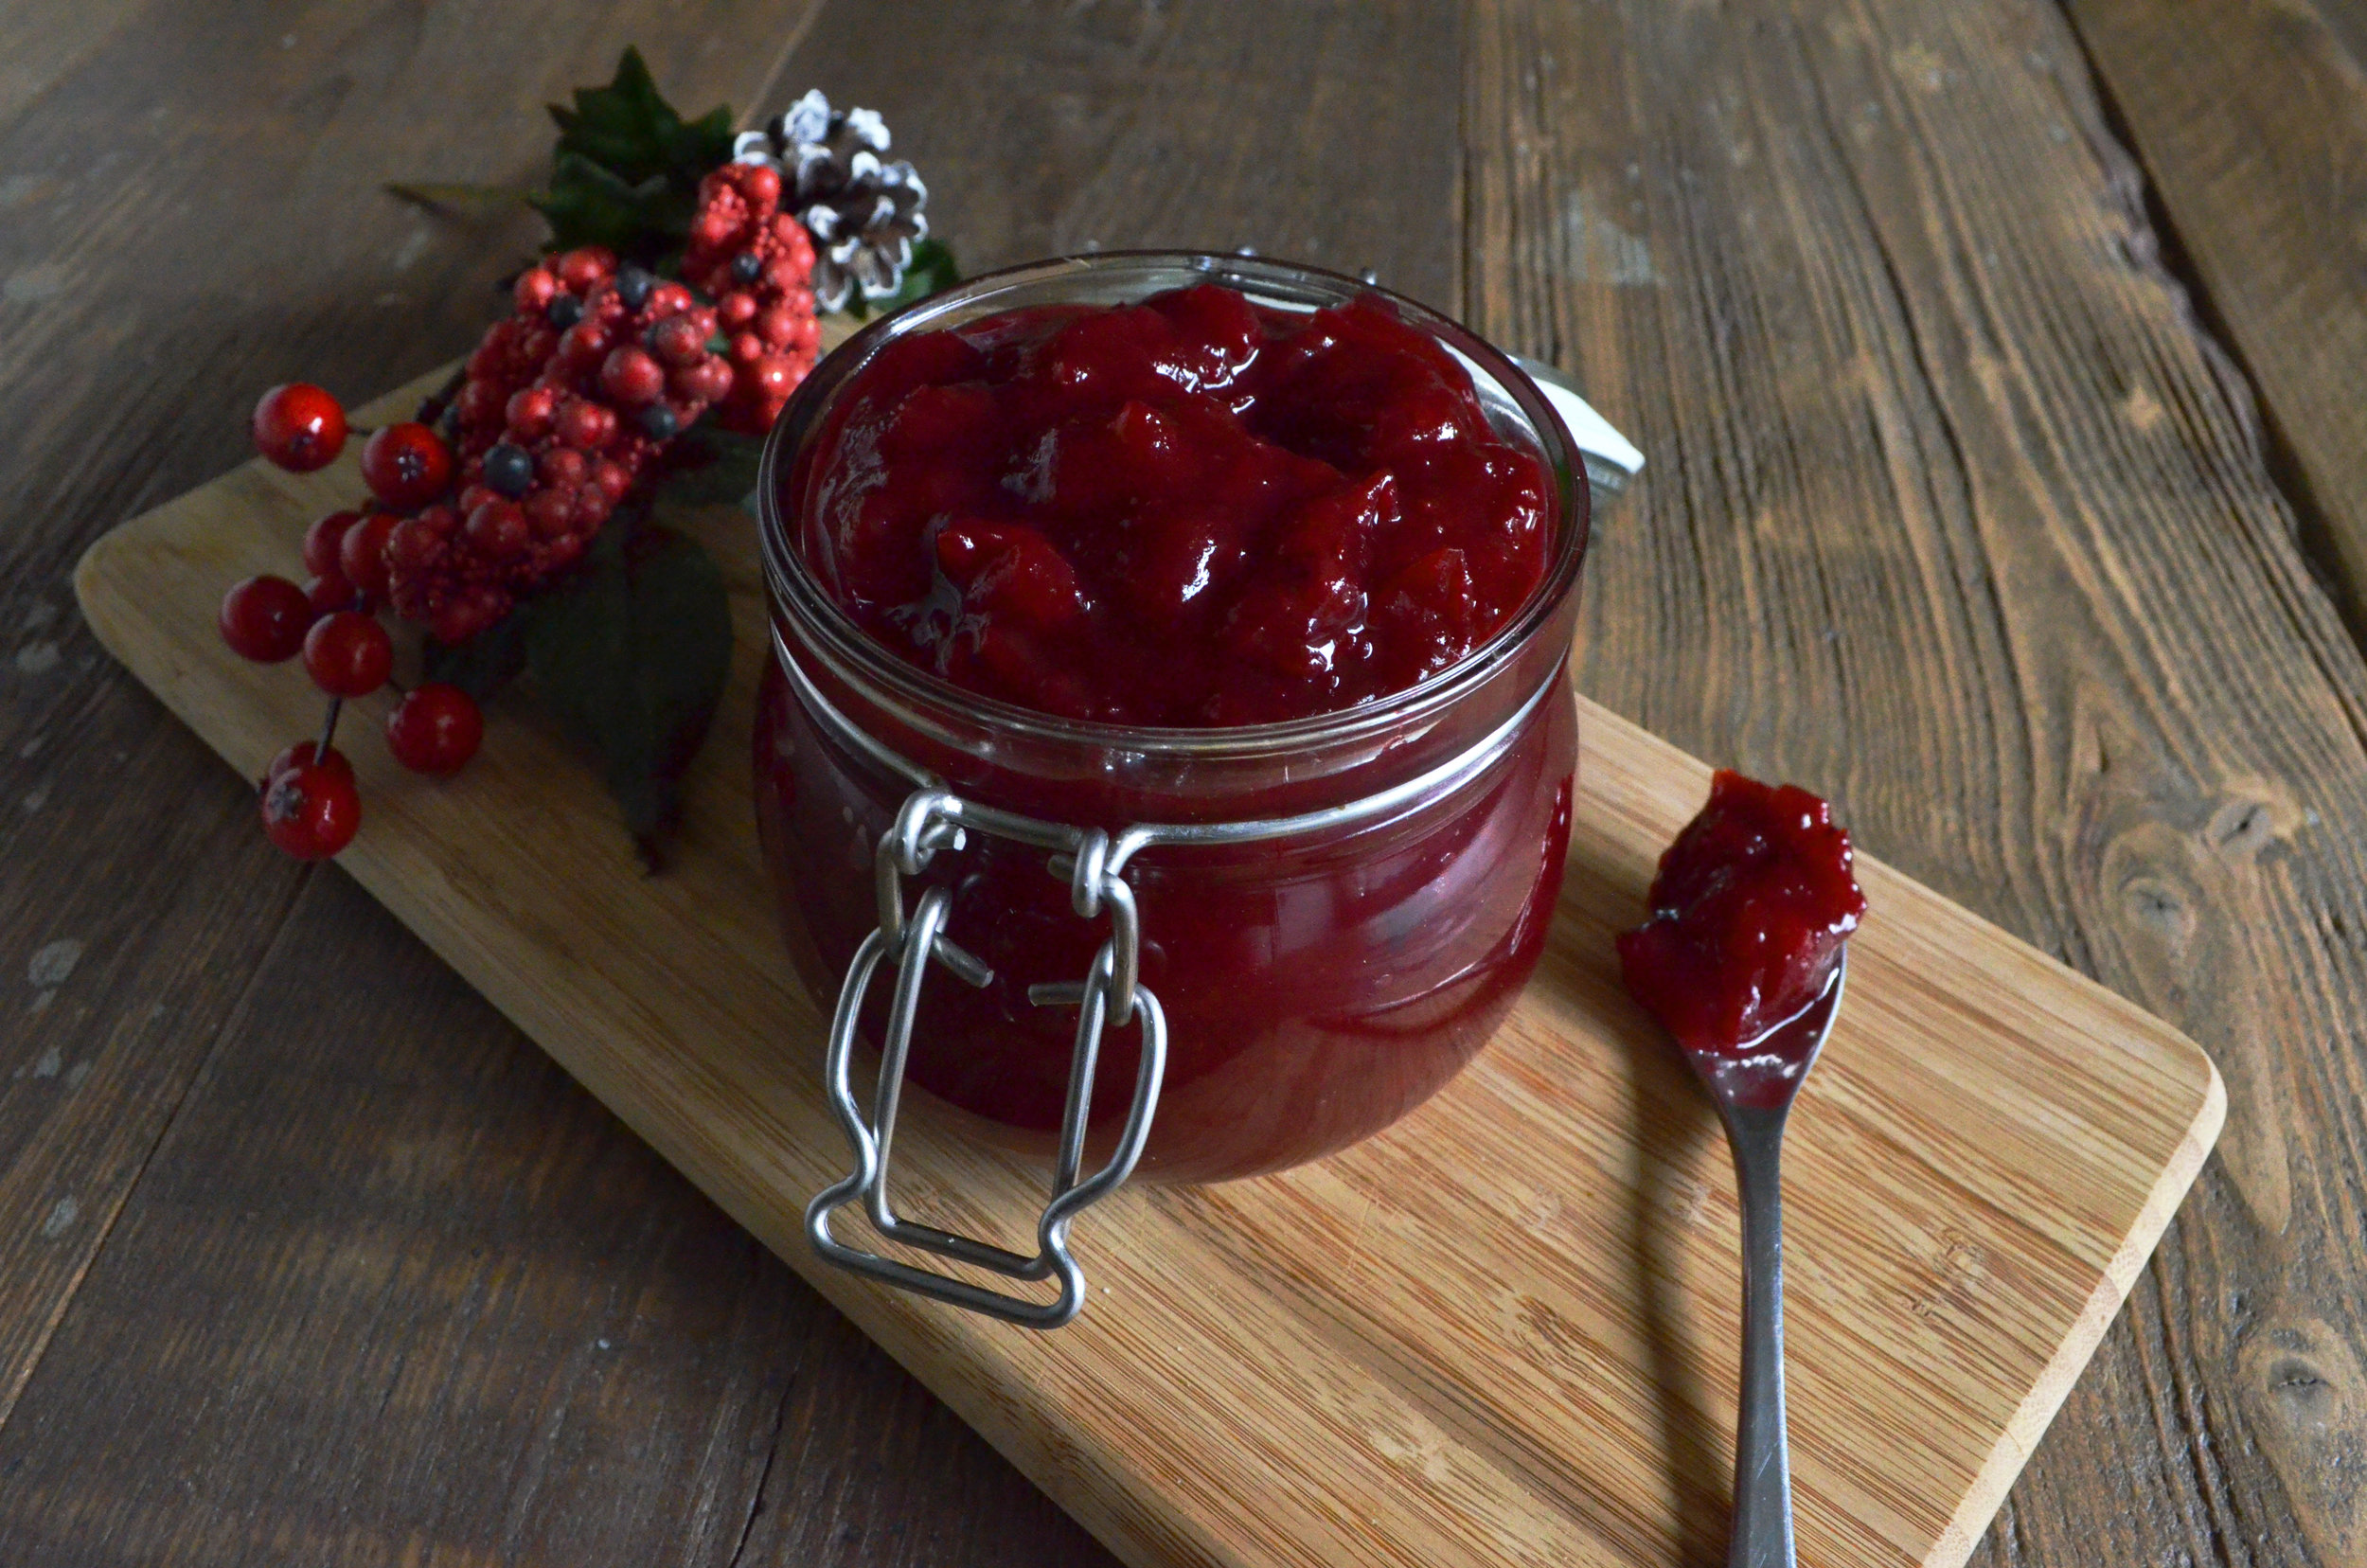
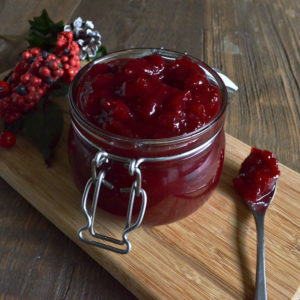
Cranberry Sauce

Cranberry Sauce

Skip the store-bought! Cranberry sauce is honestly so easy to make at home, and since you can make it in advance I highly recommend trying it out for your holiday dinner.

Since the cranberry selling season is pretty short in Belgium, I like to make a big batch and freeze the majority of it so I can continue to use it throughout the winter months.

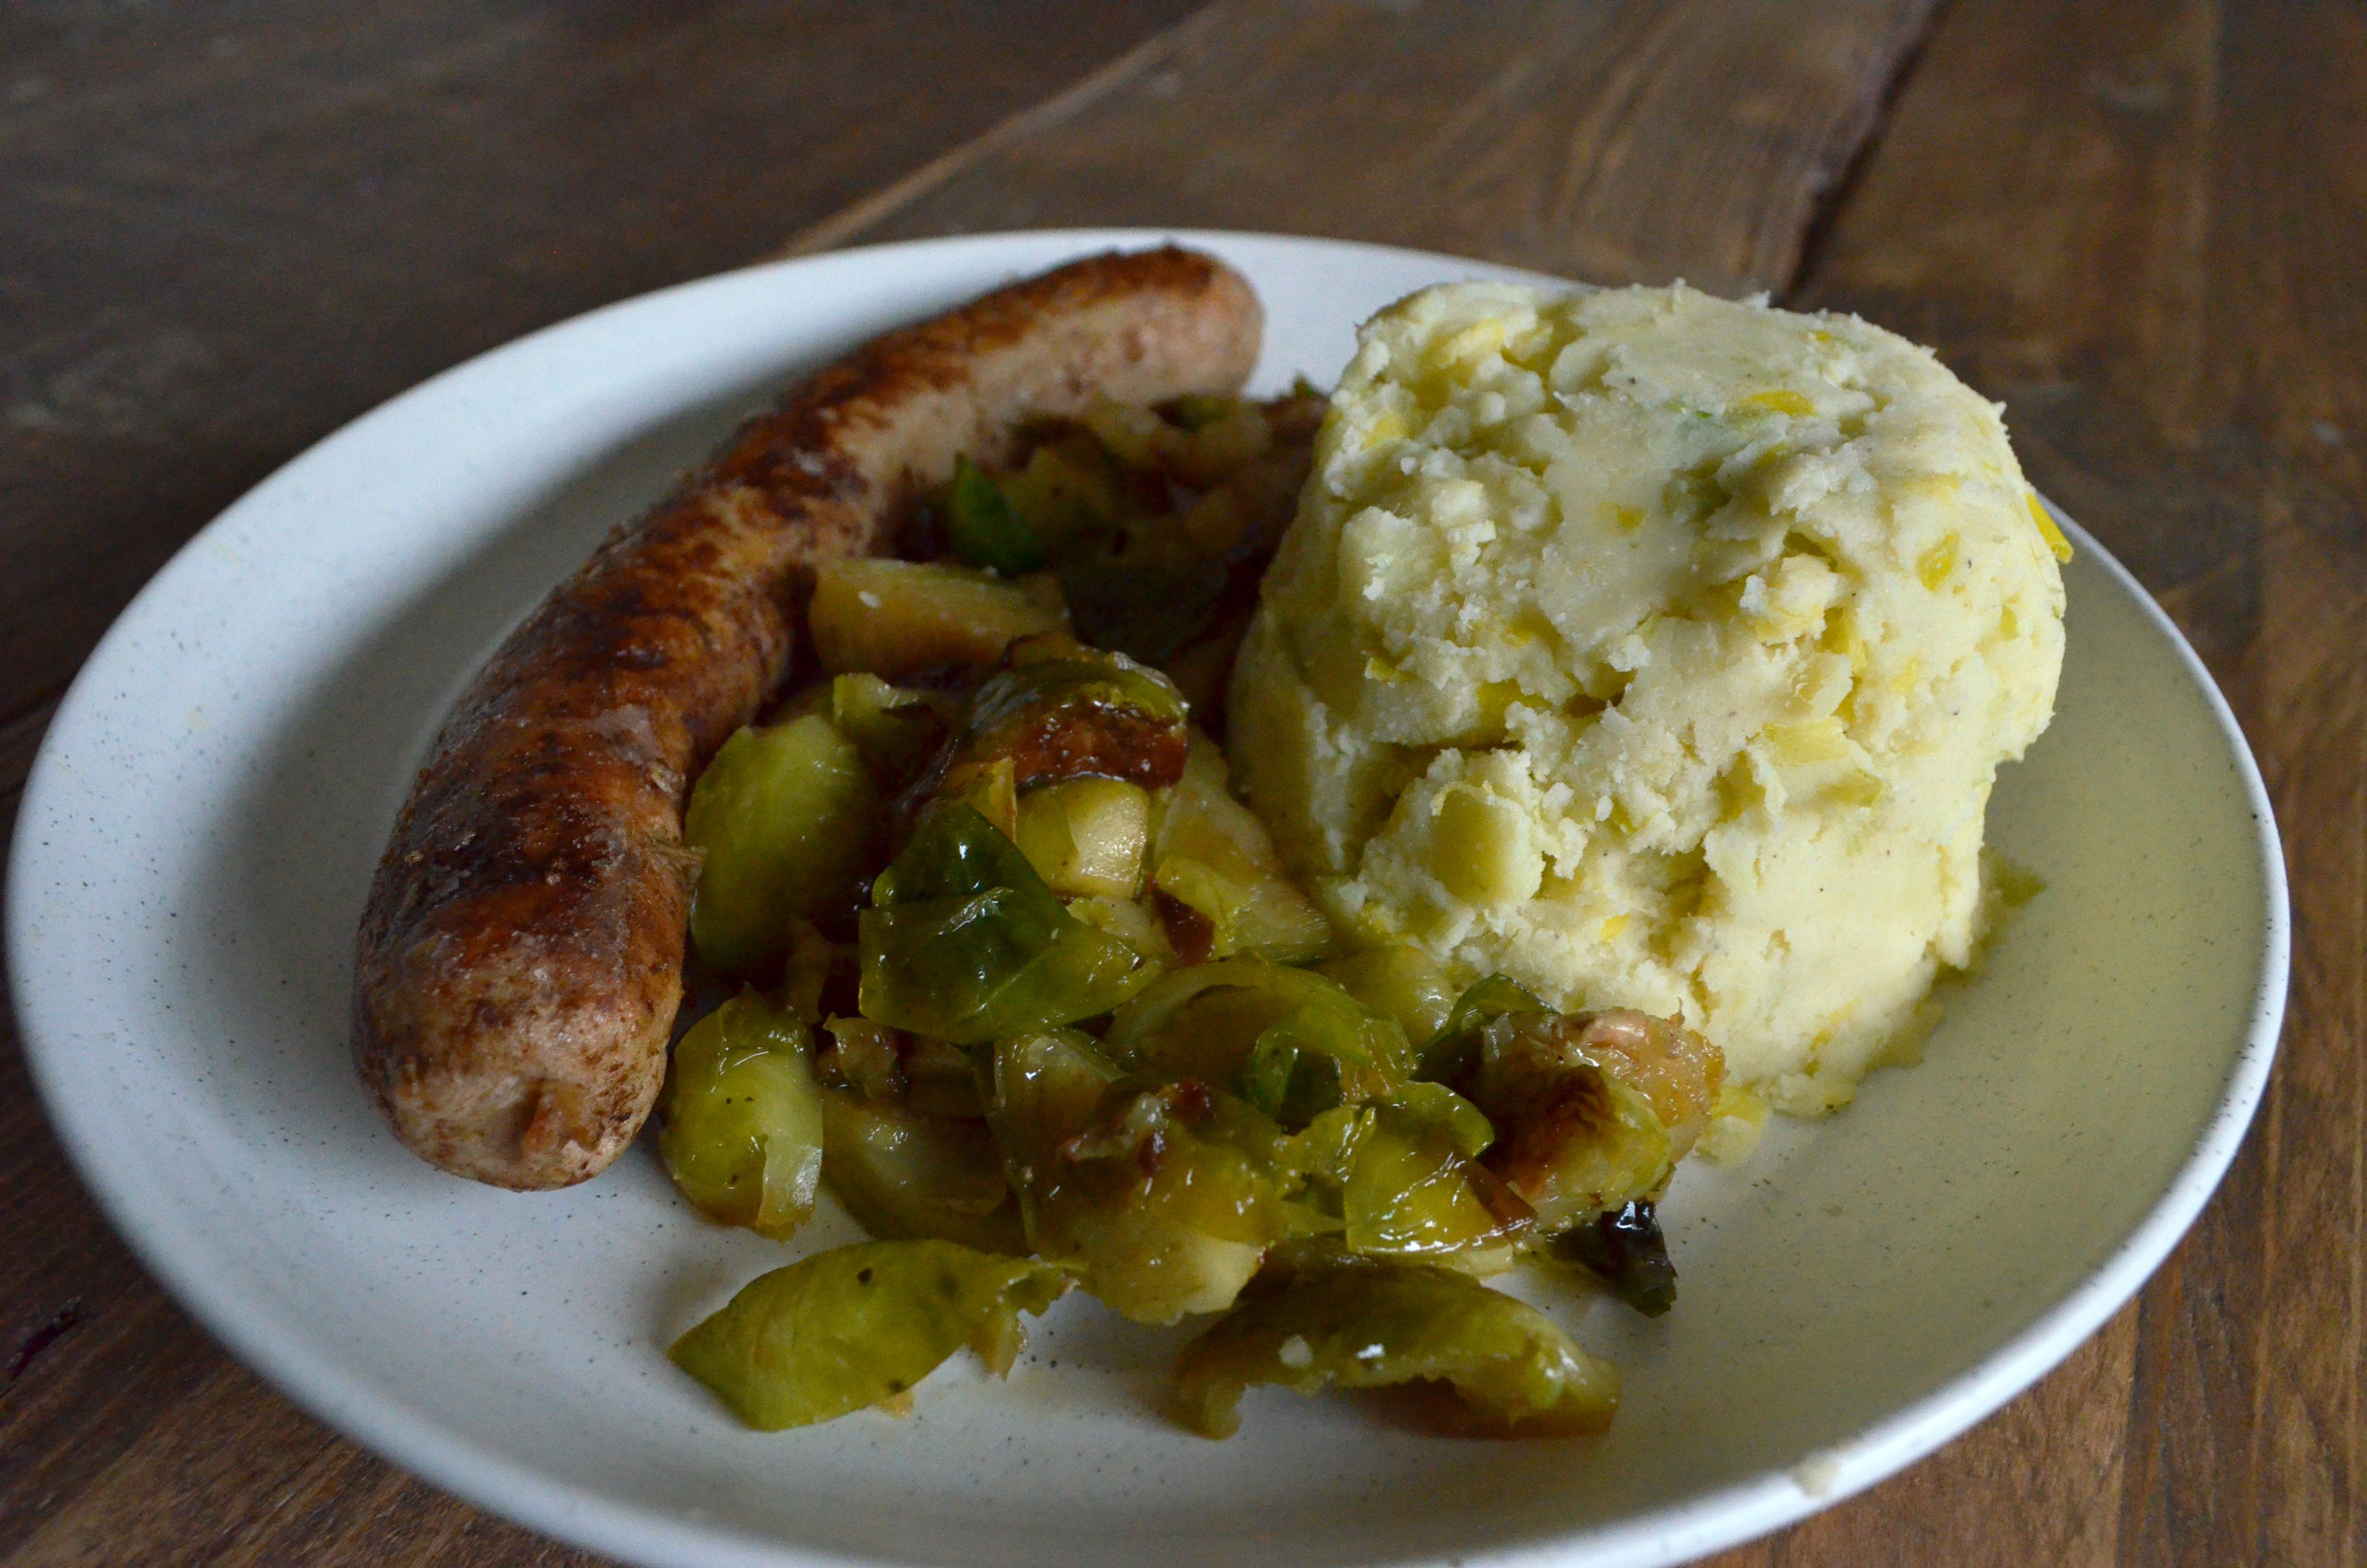
Even though we tend to associate cranberry sauce with our turkey dinners, try it out with other meals as well! It pairs just as well with chicken, but any other meat would also do. Or what about with some turkey meatballs? I’m making myself hungry just thinking of all the possibilities!


Cranberry Sauce

Homemade cranberry sauce for your Thanksgiving or Christmas dinner
Cook Time 30 minutes
Cooling Time 30 minutes
Course Side Dish
Cuisine American
Servings 3 cups

Ingredients
  

  • 780 g Fresh cranberries washed
  • 1 1/2 cups Orange juice freshly squeezed, with pulp
  • 1/2 cup Water
  • 3/4 cup Maple syrup or honey
  • 1 tsp Cinnamon
  • 1/2 tsp Nutmeg

Instructions
 

  • Combine cranberries, orange juice, and water In a large pot over medium heat. Bring to a boil, and then reduce the heat to simmer.
  • Let the berries simmer for around 20 minutes, stirring occasionally, until the berries have broken and the liquid is reduced to a jam-like consistency.
  • While stirring continuously to prevent burning, add in the cinnamon and nutmeg, and begin to add the honey or maple syrup gradually, around 60mL (¼ cup) at a time. Taste in between to get the sauce to your desired sweetness. I prefer it with around 180mL (¾ cup) of sweetener, but adjust it up or down to your liking!
  • Remove from heat and allow to cool to room temperature. Store in the fridge in an air-tight container for up to a week, or divide over smaller containers and freeze. This is also a perfect recipe to preserve through canning if you know how to do it!
Keyword Dairy Free, Gluten Free, Paleo, Side Dish, Vegan, Vegetarian

Belgian Stoemp with Leek

This is a very Belgian meal! Sausage with Brussel sprouts and stoemp.

So what exactly is stoemp? It’s pretty simple (and delicious!) actually. It’s simply mashed potatoes mixed with your choice of veggie! You can make all sorts of flavours of stoemp, but right now I’m really loving this classic combination of mashed potatoes and leek.

It might be surprising, but I don’t really like mashed potatoes much. I eat them about twice a year (on Thanksgiving and Christmas!) when I can douse them in gravy. But this recipe has me reevaluating that!

You can find my recipe for these bacon and maple Brussel sprouts here.

Stoemp with Leek

Ingredients:

  • 900g (2lb) potatoes, peeled & cubed (1-2cm blocks)

  • 1 leek, finely sliced (white & light green section only)

  • 45mL (3 tbsp) butter or ghee

  • ¼ tsp sea salt

  • ¼ tsp pepper

  • ¼ tsp nutmeg

  • water

Put the potatoes in a large pot and fill with water until they are fully covered. Bring to a boil over medium heat and cook for around 10 minutes until just soft. Add in the leek and continue to cook for another 5 minutes.

Drain the water from the pot. Add in the butter, sea salt, pepper, and nutmeg. Return to low heat and stir continuously until the butter is melted and the potatoes are mostly broken down (use a masher if necessary).

Plate up and enjoy!

Serves 3-4

Bacon & Maple Brussels Sprouts

Brussels sprouts – one of the vegetables most kids grow up being forced to eat! Despite it’s bad rep, I think sprouts can be really delicious – when cooked right!

While they are also delicious simply roasted in the oven with some olive oil, salt, pepper, and garlic, this bacon and maple version is hands down my favourite.

It also makes a great addition to your holiday table!

Brussels sprouts are part of the cruciferous vegetable family (along with broccoli, cauliflower, kale, cabbage, etc.). This group is linked to cancer preventative benefits such as aiding the body’s natural detoxification system, working as antioxidants, and helping manage/decrease inflammation. Sprouts are also high in fibre which helps our digestion and elimination systems.

Not to mention they are also loaded with nutrients! 150g of Brussels sprouts gives you more than double your daily recommended intake of vitamin K, and just over your daily recommended intake of vitamin C. In addition, they are good sources of vitamins like A, B1, B2, B3, B5, B6, folate (B9), and minerals like manganese, choline, copper, phosphorus, potassium, iron, magnesium, calcium, and zinc. Whew! That’s a long list of the good stuff.

Bacon & Maple Brussels Sprouts

Ingredients:

  • 400g (14oz) Brussels sprouts

  • 4 slices thick-cut bacon, chopped (or 8 thin-cut)

  • 60mL (¼ cup) maple syrup

  • Sea salt & pepper to taste

Prepare the sprouts by cutting off the base a removing the outer layer of leaves. Cut the sprouts into quarters.

In a frying pan over medium heat cook the bacon until the fat begins to release. (If your bacon is too lean, add 1 tsp coconut oil to the pan.)

Add in the Brussels sprouts and season with salt and pepper. Cook until soft, stirring often, around 15 minutes.

Stir in the maple syrup until most of the liquid is absorbed.

Plate up with your meal and enjoy!

Serves 4

Three-Ingredient Strawberry Jam

Funny enough, we are not big jam eaters in this house (funny, because my dad loves nothing more than a really nice raspberry jam!). So it never makes sense for us to buy jam, otherwise we end up with barely eaten jars crowding up our fridge for months before we finally declutter them. What a waste! Not to mention that it can often be quite expensive to buy a nice jam that isn’t loaded down with added sugar and/or additives.

But sometimes we do want that fruity goodness to drizzle on our yogurt bowl, or enjoy with a nice slice of sourdough bread! So whatever you want to use it for, this super simple three-ingredient jam is perfect. Play around with the type of berries to make your own flavours! (Yes, dad, that means you can make this with raspberries!) You just might need to adjust the sweetener when using a tarter berry.

Since there are no preservatives being used, it’s not going to last for months in the fridge. But what’s great is you can scale the recipe up or down to make just what you need. Thaw your berries overnight and you can put this together in no time while getting your breakfast ready in the morning.

Three-Ingredient Strawberry Jam

Ingredients:

  • 225g (0.5lb) frozen strawberries, thawed*

  • 15mL (1 tbsp) maple syrup

  • 15mL (1 tbsp) chia seeds

Using a fork, mash the strawberries until broken down into a paste. Stir in the chia seeds and maple syrup until fully combined.

Allow to thicken for 10 minutes in the fridge.

Top your yogurt or bread with the jam and enjoy!

Makes around 125mL (½ cup) of jam

* Thawed overnight in the fridge is perfect. You can use fresh berries, but you would need to warm them using a bain-marie on the stove to get them to break down (can do the same method if you forget to thaw your frozen berries).

Cauliflower Rice

Cauliflower rice is one of my favourite and most versatile side dishes to make. It’s pretty good as a base for most recipes where you would use normal rice, it’s not that tricky to make, and it cooks up really fast! My favourite way to have it is as a base for meatballs in tomato sauce, a curry, or with warming spices for a Moroccan tagine.

A lot of grocery stores now even stock pre-riced cauliflower. But buying the head of cauliflower costs less and helps cut down on plastic wrapping! One head of cauliflower makes a pretty generous amount of rice, so you can even freeze it (before cooking) to save some for later.

Below is my basic cauliflower rice recipe. But you can always use this as a base and add more spices or veggies to make your own creation!

Cauliflower Rice

  • 1 head of cauliflower

  • 1 tsp coconut oil

  • sea salt & pepper, to taste

Begin by removing the leaves and stalk of the cauliflower. Roughly chop into florets.

Put ¼ of the chopped cauliflower into a blender or food processor. Err on the lower side, as too much blending can result in the cauliflower becoming a mash instead of rice! This is why the food processor is easier, but a blender can also be used.

Pulse the blender or food processor until cauliflower reaches a rice-like consistency. Scoop into a bowl and repeat 3 more times with the remaining cauliflower.

Melt the coconut oil in a large skillet or wok over medium heat. Once melted, add in the cauliflower and season with salt and pepper. Cook, stirring frequently, until cauliflower is soft with only a slight crunchy (around 5 minutes).

Serves Four

Contact

Healthfully Heather
Oordegemstraat 8, 9520 Vlierzele
BTW: BE0694867319
Erkenningsnummer: 5-64985-40-601

✉️   hello@healthfullyheather.com

📞  +32(0)486.38.47.49

© 2023 Healthfully Heather
Designed by Brooke Lawson